Hello
In this article, I am going to talk about the process of making. While you only see the final picture when I post on Social Networks, there are actually dozen and dozen of hours about thinking, designing and making. I will try to explain everything as precise as possible.
Introduction
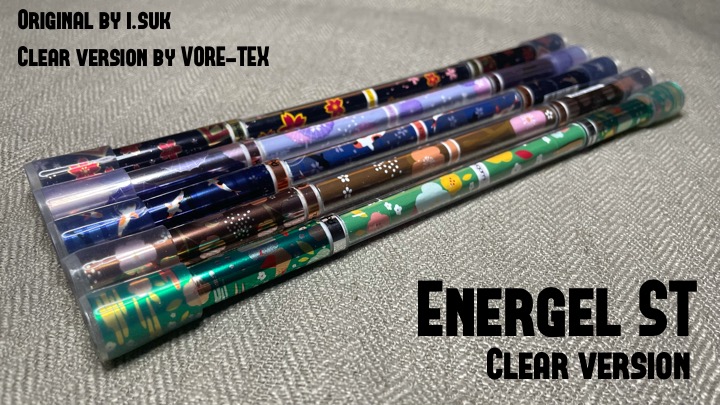
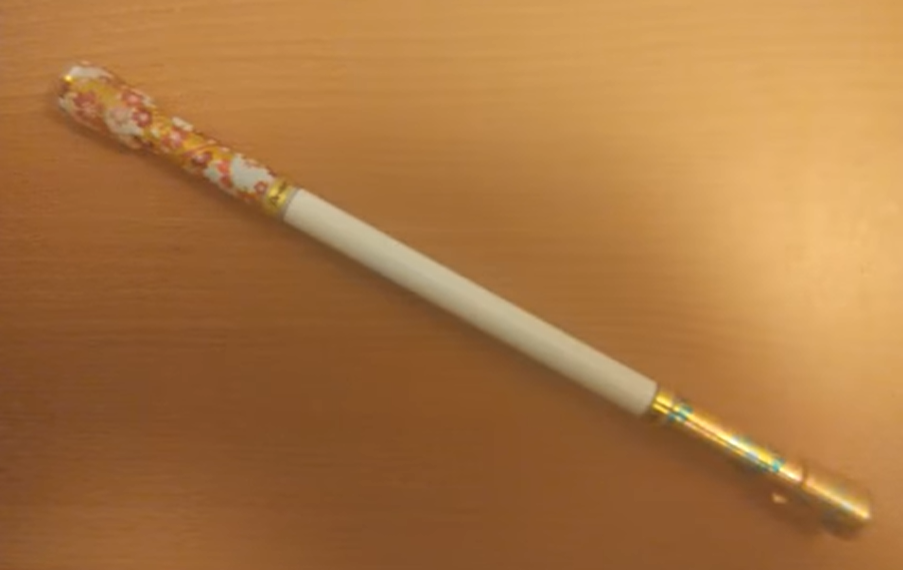
In 2021, I had got the idea about making a series of the Energel ST mod, an isuk’s invention, but with a clear body. As a reminder, this is what a regular Energel ST looks like :
My idea was very precise : I was going to use a clear pipe and not a clear version of SuperTip. It implied that the mod uses 2 backplugs. Some people made mods with this struture already :
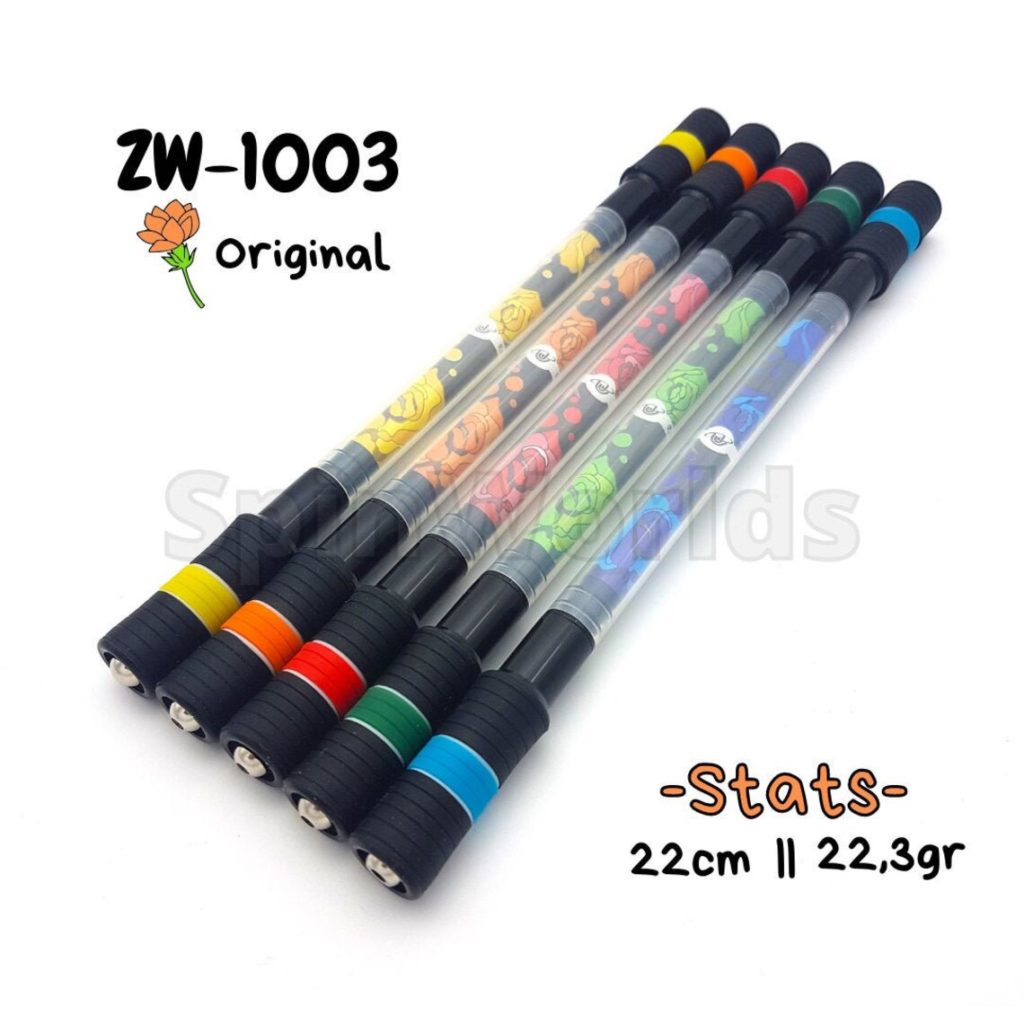
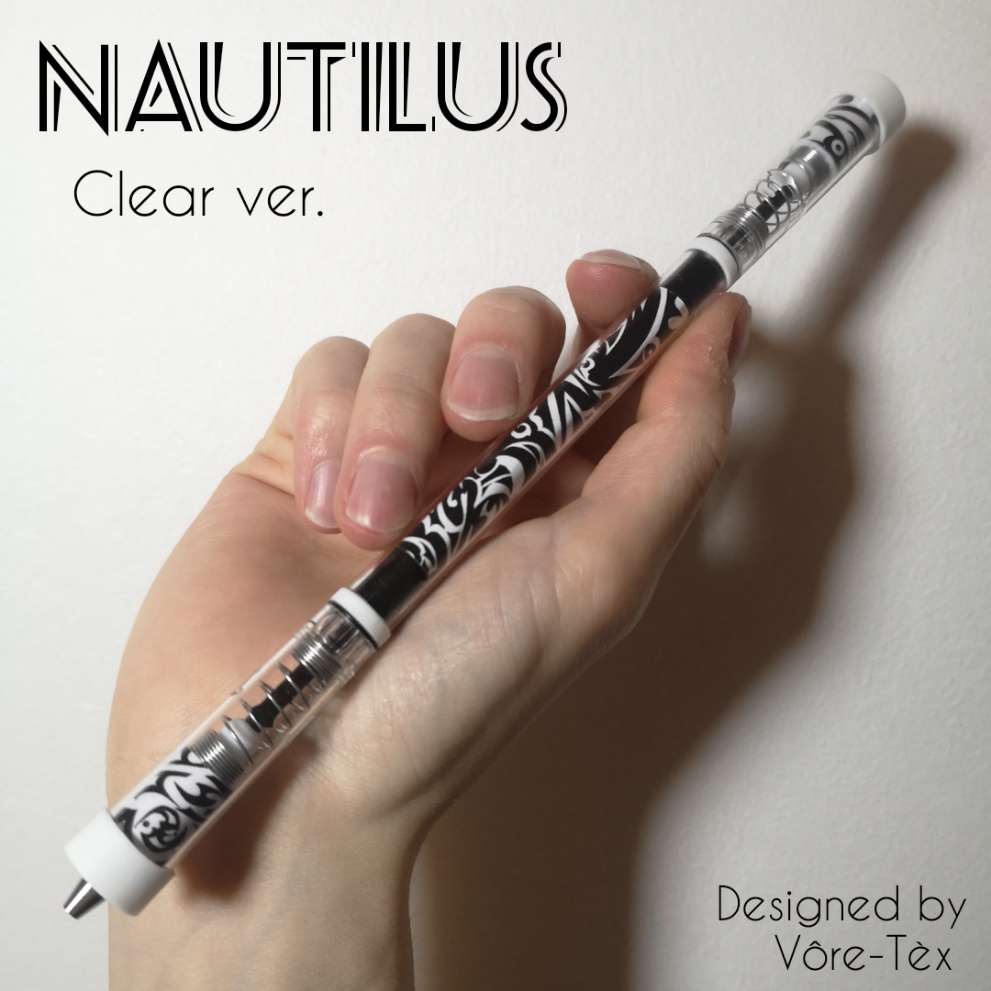
The major bad point aesthetically speaking about this structure is, I think, the visible connectors between the caps and the body. I wanted to avoid this detail for my Energel ST series.
Before talking about the solution(s), what are the issues by hiding the connectors ? In others words, why have we decided to show the connectors on the pictures above ?
I can not talk for others but I can, at least, explain my decisions about the Clear Nautilus.
First of all, I chose an acrylic pipe for the body because I had nothing else. The main issue of acrylic is its very low mechanical strength : it can’t be bent or extended a lot without being broke. Thus, I couldn’t put mechanical stress into the body of the mod. I didn’t success to put the backplug into the insert which was into the body without breaking it.
On the second hand, the paper of the insert was badly chosen. I would say that the regular paper for printing is too thin and soft to hold the backplug without being torned.
Anyway about the ZW mods, I can easily assume that they didn’t plan to hide the backplugs for for reasons of sturdiness and durability. Also it is faster to make and to adjust, so they can sell the product at a lower price.
Which stuff to use ?
This said, it brings up 2 questions in order to hide the connectors :
– Which type of body to use ?
– Which type of paper to use ?
For normies, 2 types of pure clear plastic pipes are easy to get without a particular difficulty : the acrylic and the polycarbonate (PC), maybe that one is a bit more harder to get though. Unlike acrylic, PC can be bent and extended a bit without being broke. The texture feels a bit less “plastic” too. Means I was more likely to use PC since I can add a stress into the body.
The material for the body was decided. Now, what about the paper ? To explain fully, I must talk about the Energel bodies. The effect of the printed decoration onto the bodies is shiny metallic and the color tones are vivid. If we look at color tones and effect of a regular insert, it is often insipid and mat. However I didn’t do any research about the difference between laser printer and ink jet printer, maybe there is something to dig if we want to get the best effect for an insert. My printer is an Epson XP-900, an ink jet printer.
In sum, we have a shiny Energel bodies and potentially a mat insert which I didn’t want. The purpose is to get the most cleaned transition between the Energel and the PC barrel. We can find glossy paper for printing as it is used for printing photographies.
And as I said earlier, I have to use a thick paper so it won’t torn when I put the backplug into it inside the PC barrel. A thick glossy paper then.
Now that all the material is getting chosen, I have to think about the inserts. I had 2 options :
– Either I print a pre existing image
– Or I have to create it.
Creating the inserts
I started looking online at some documentations and at designed drawing about the Energel Kawaii+ sold in 2019 and thought if I can print something from a pre existing image, like what we see behind the pens on the picture below.
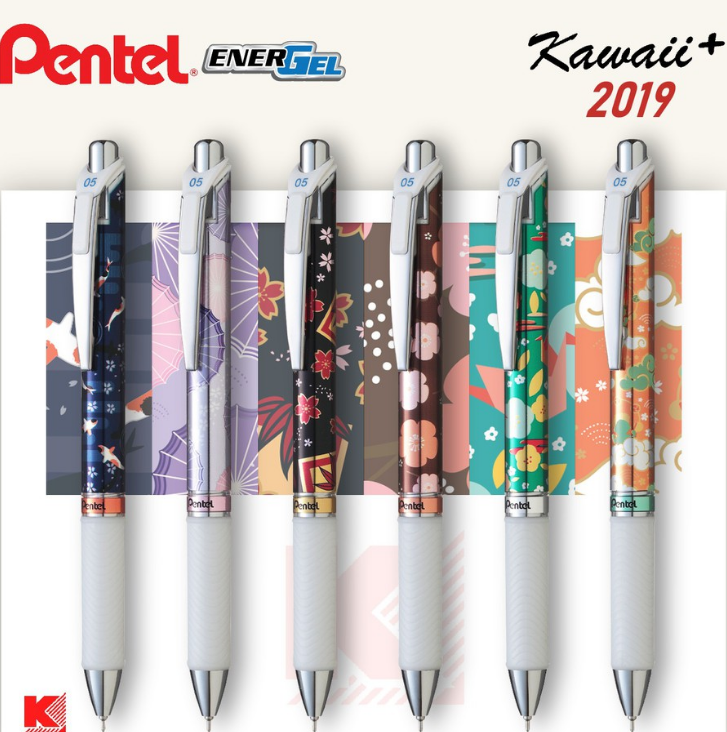
I found out that they create some good stuff such as these design (see below), but nothing great for an insert. In my view, if the drawn object (like a flower or a fish) is too big on the insert, a flat effect will occur once it is put into the clear body. Another important thing to note is, the drawn objects must also be small enough to be visually understood with a single view (from a single photo). Too big means that you need at least 2 views if you want to clearly understand what is drawn.
Below are the best quality designes I have found as reference. Source is from a Thailand e-shop which I forgot the name. Unfortunately, I lost 1 body of the Kumo design so I couldn’t make the mod with this version..
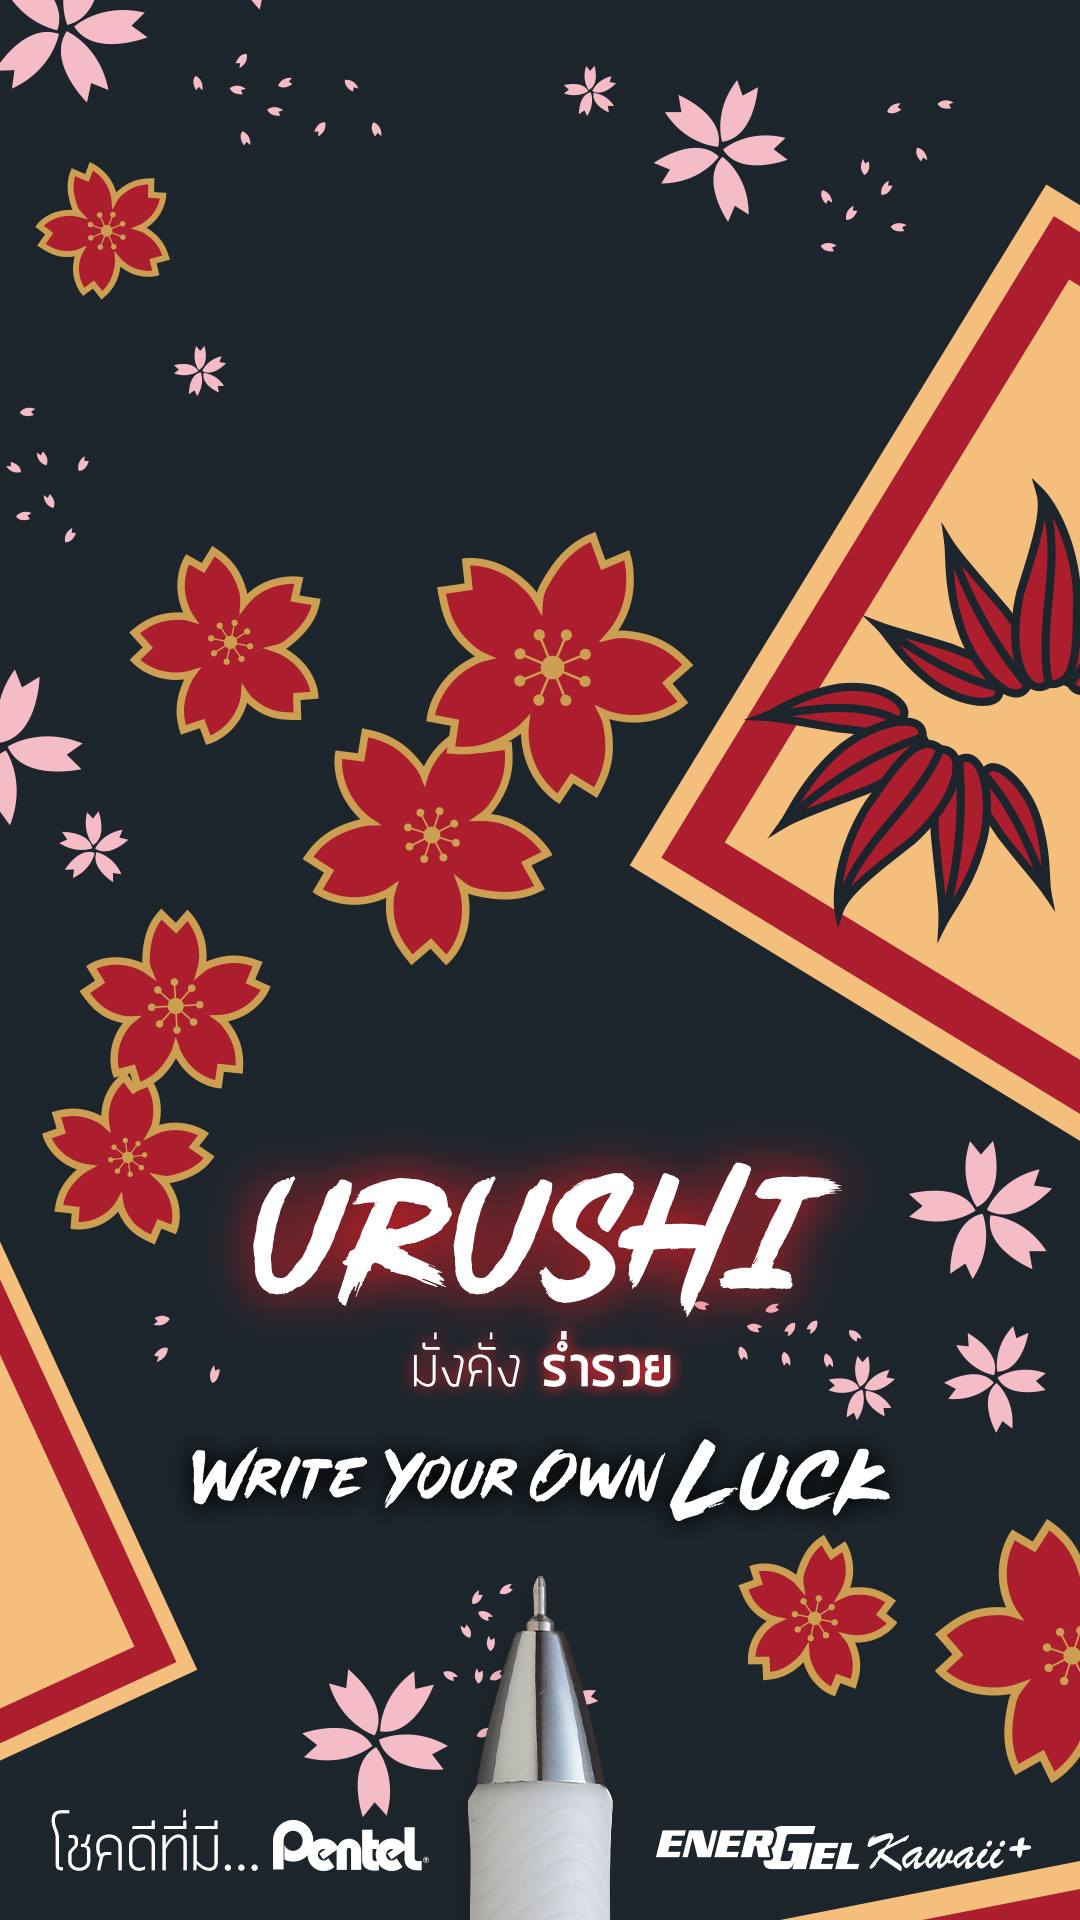
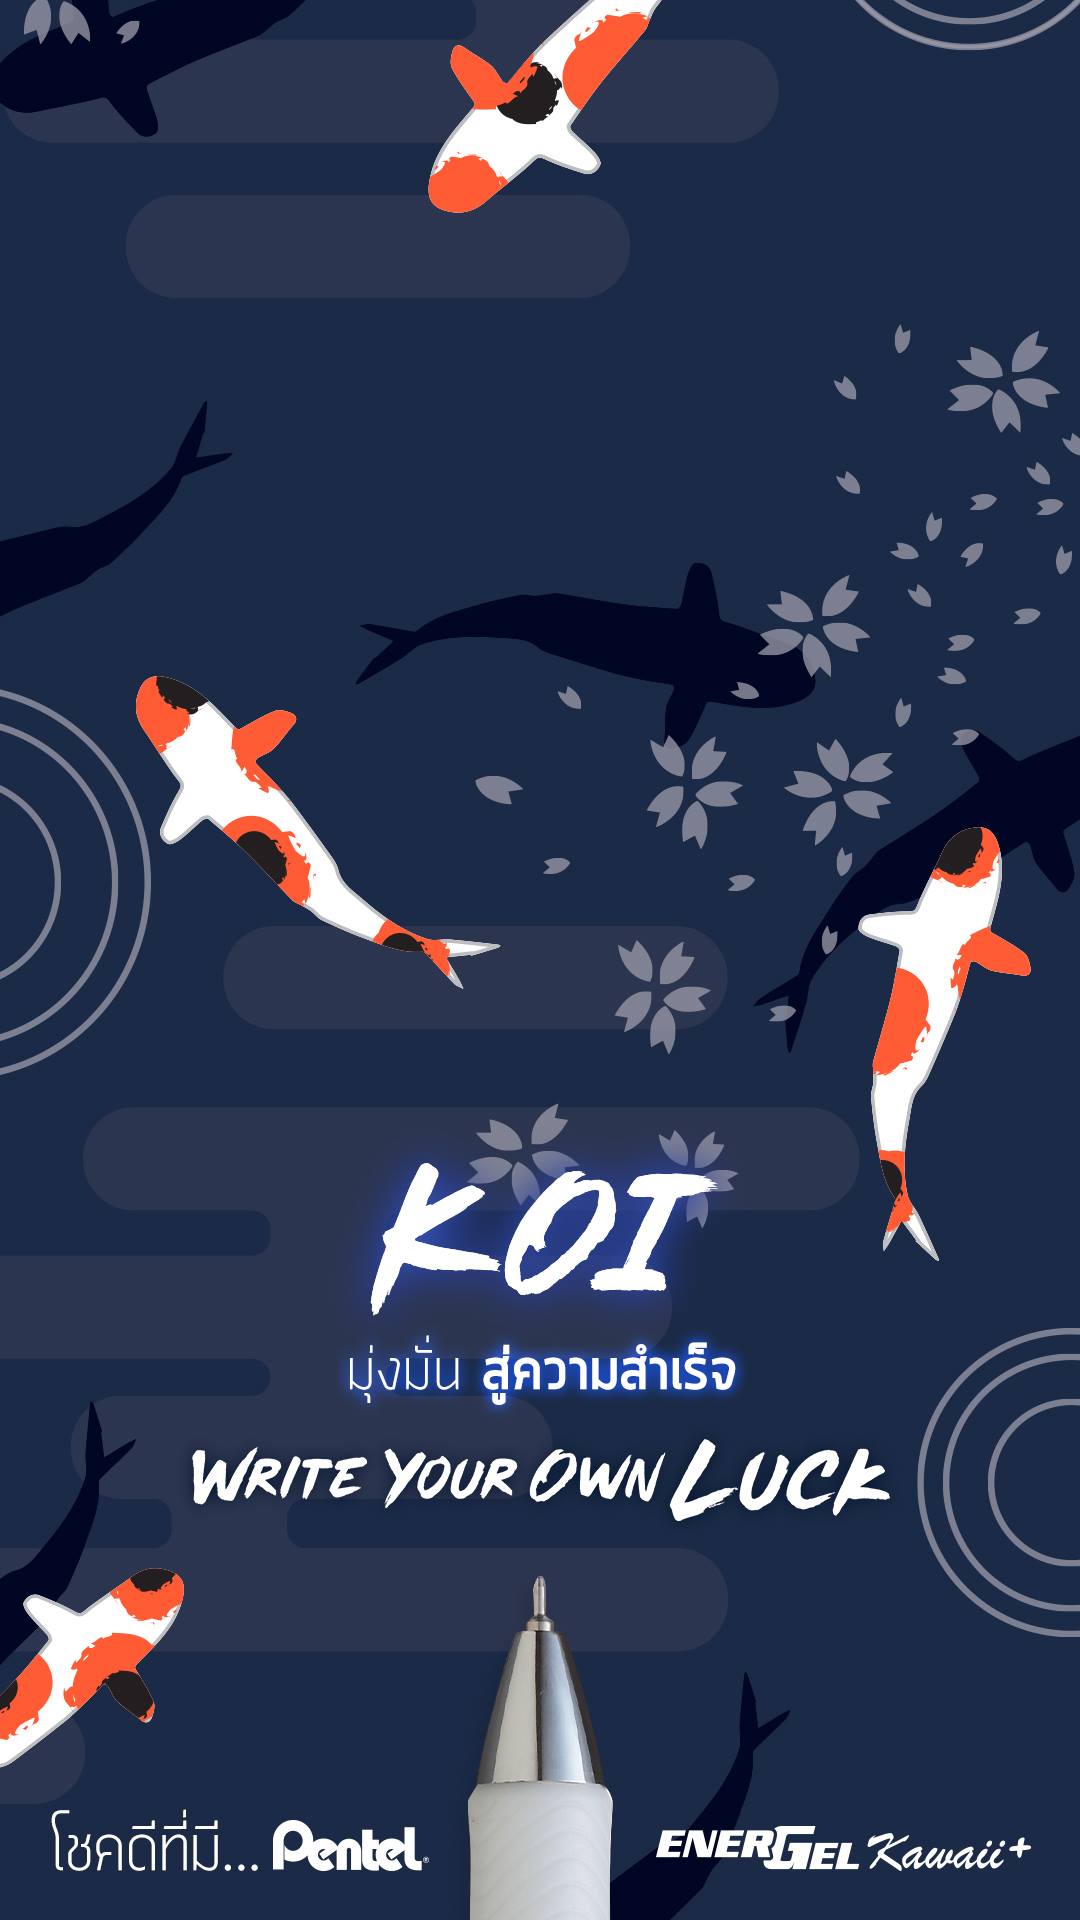
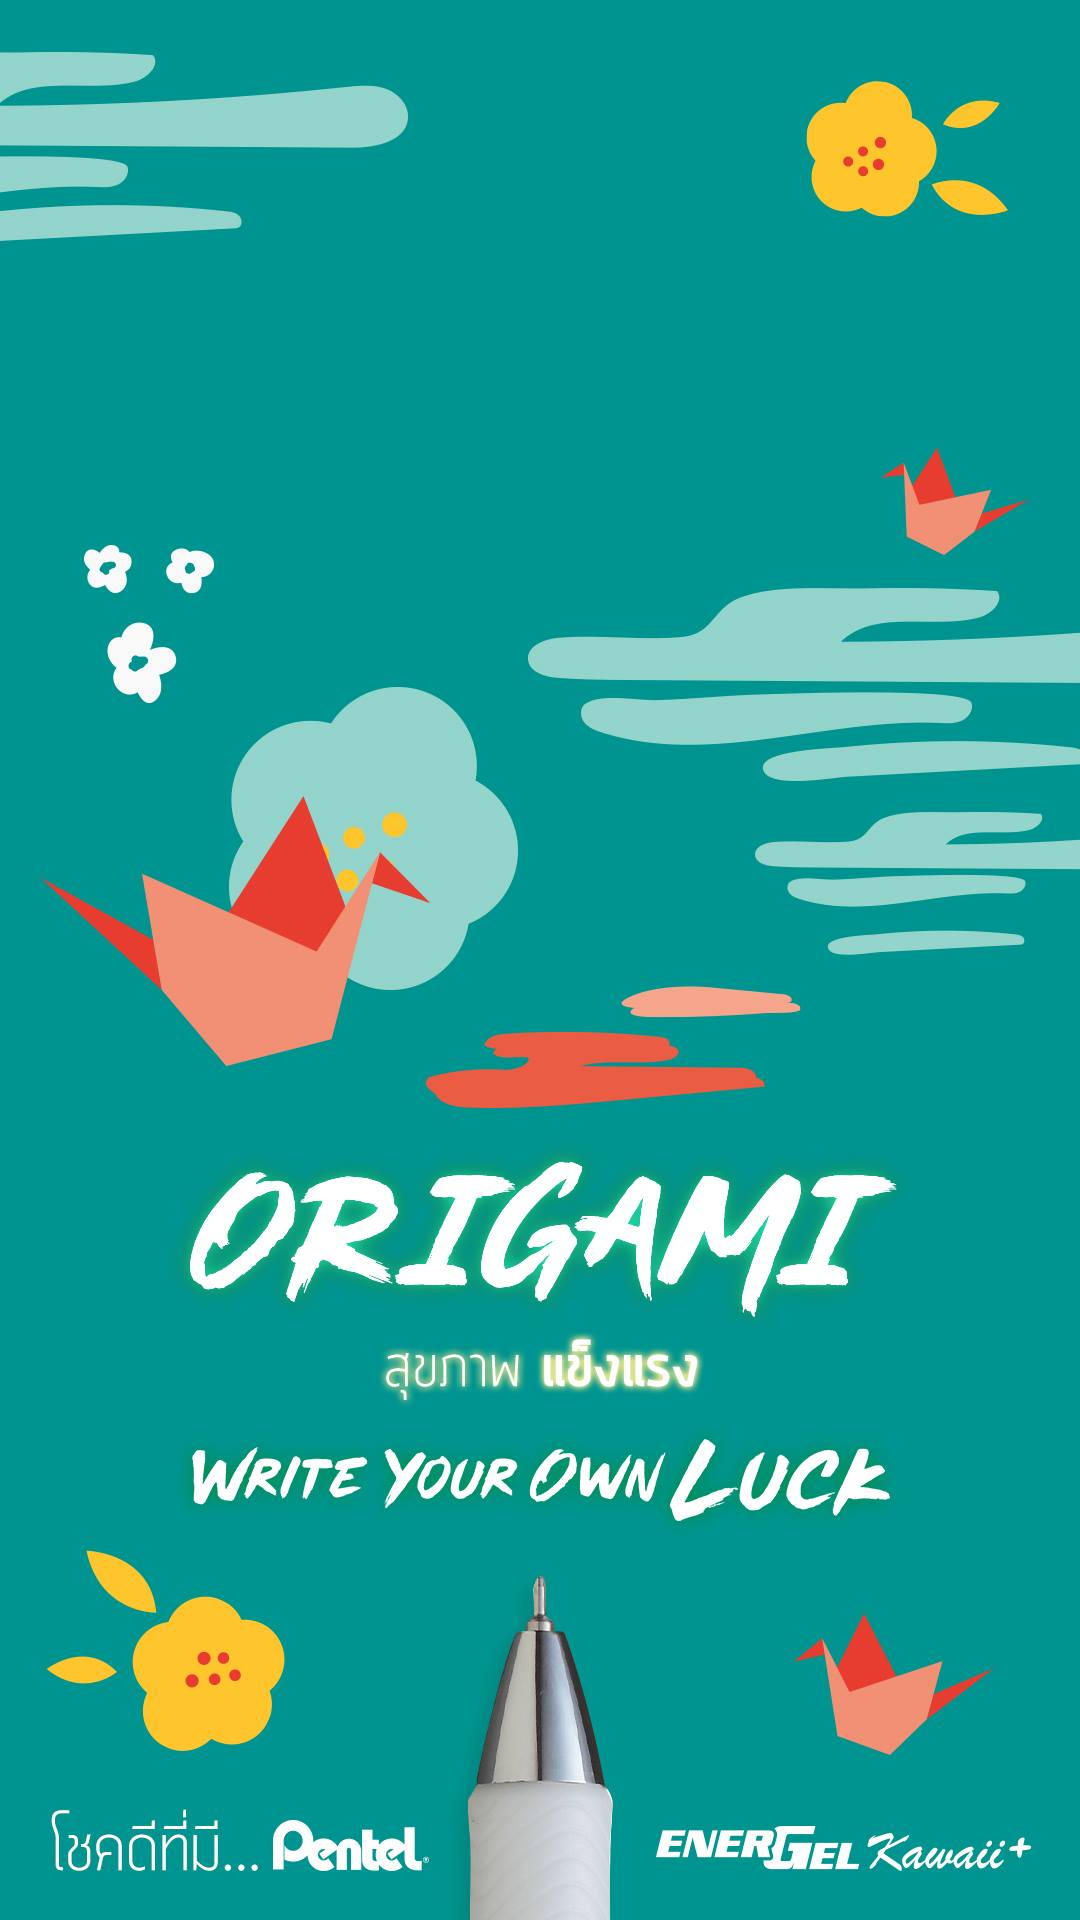
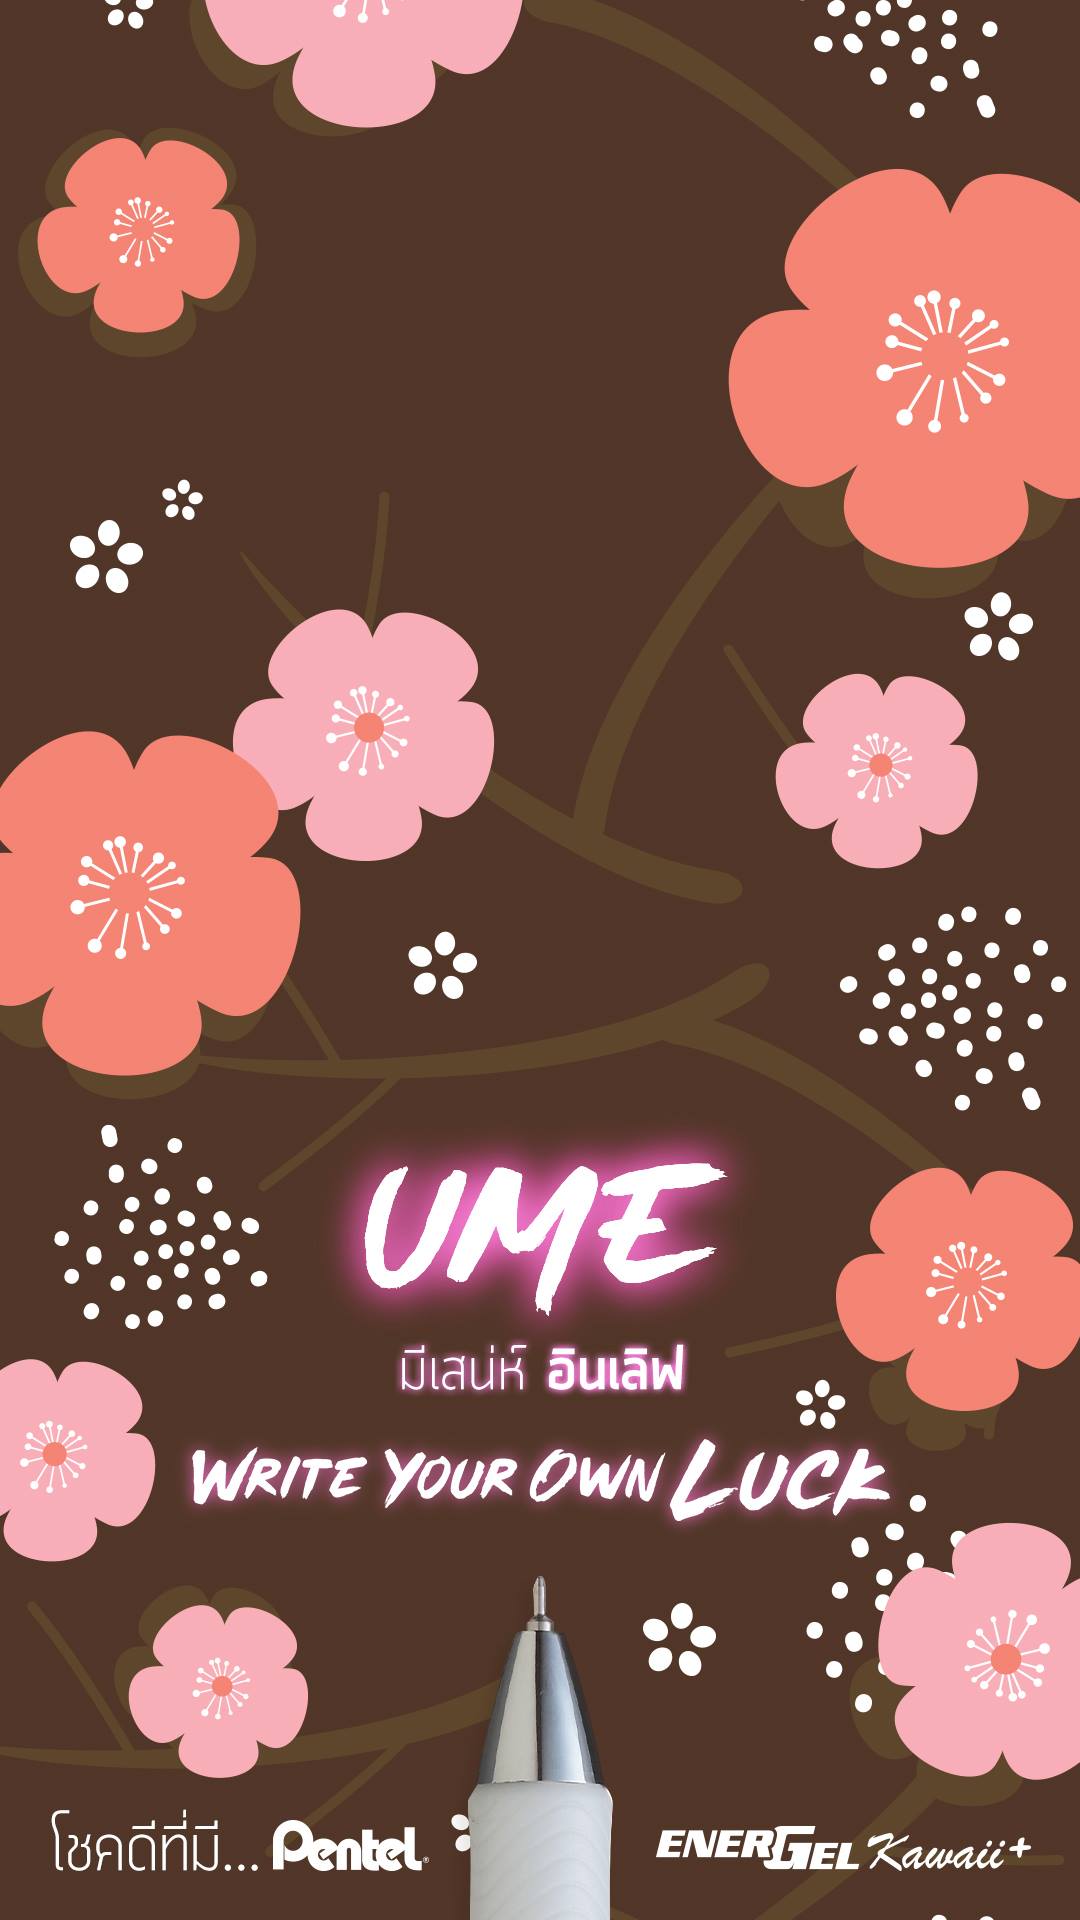
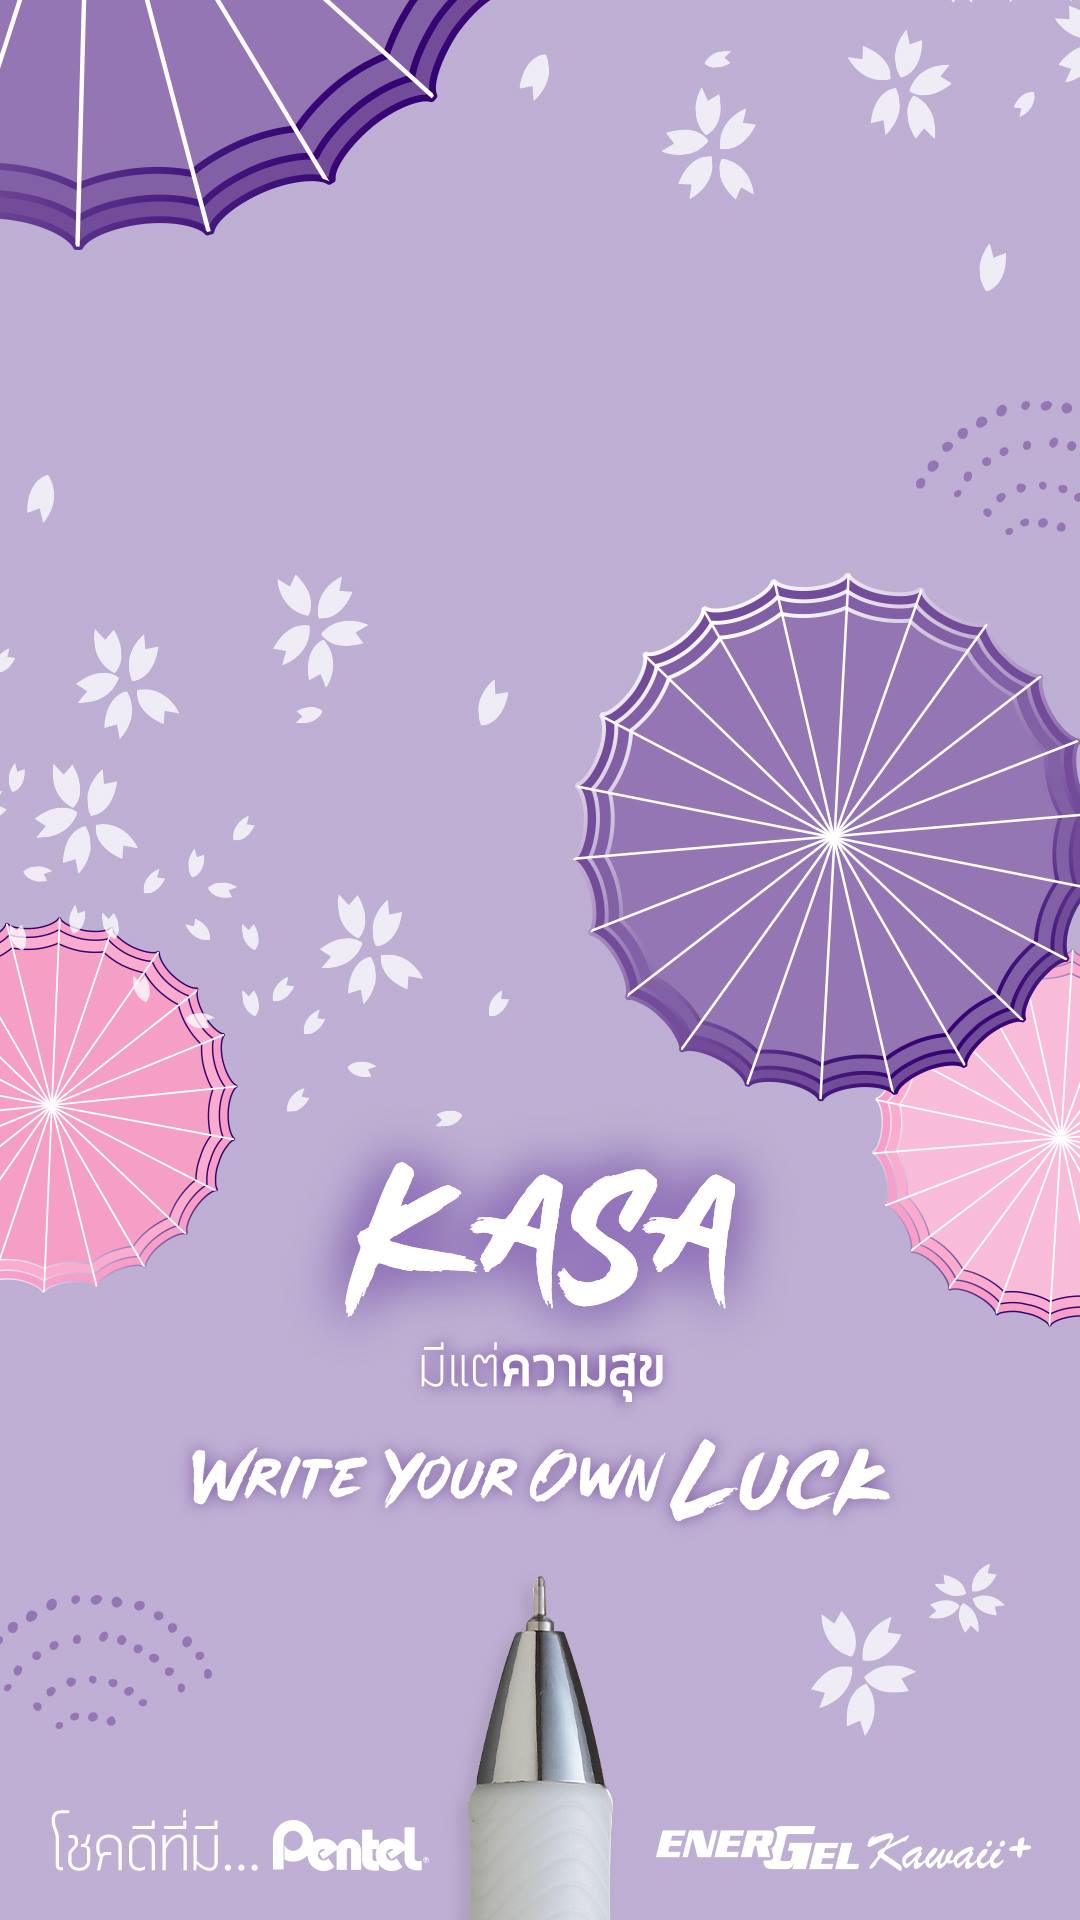

Thanks to these images, I drew the patterns again with the Illustrator software so I could make my own insert. I wanted to make the insert like the structure of the pattern of the Energel body. I mean, to draw a colored stripe with a word on it at the middle of the image :
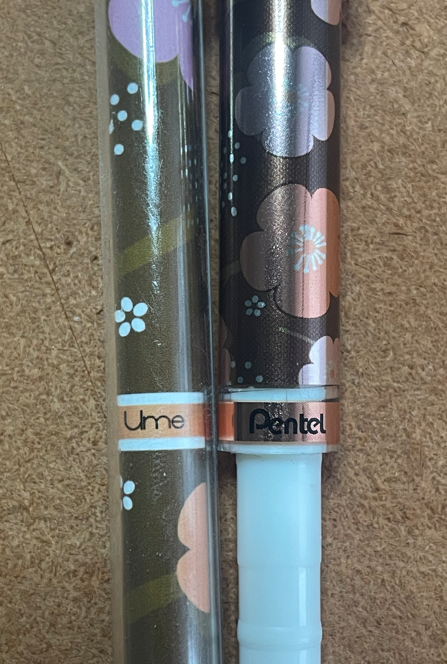
Once the designes been decided, I had to find out the correct color tone to use, thus the glossy insert color can match as close as possible the color pattern of the Energel.
I did a little color research :
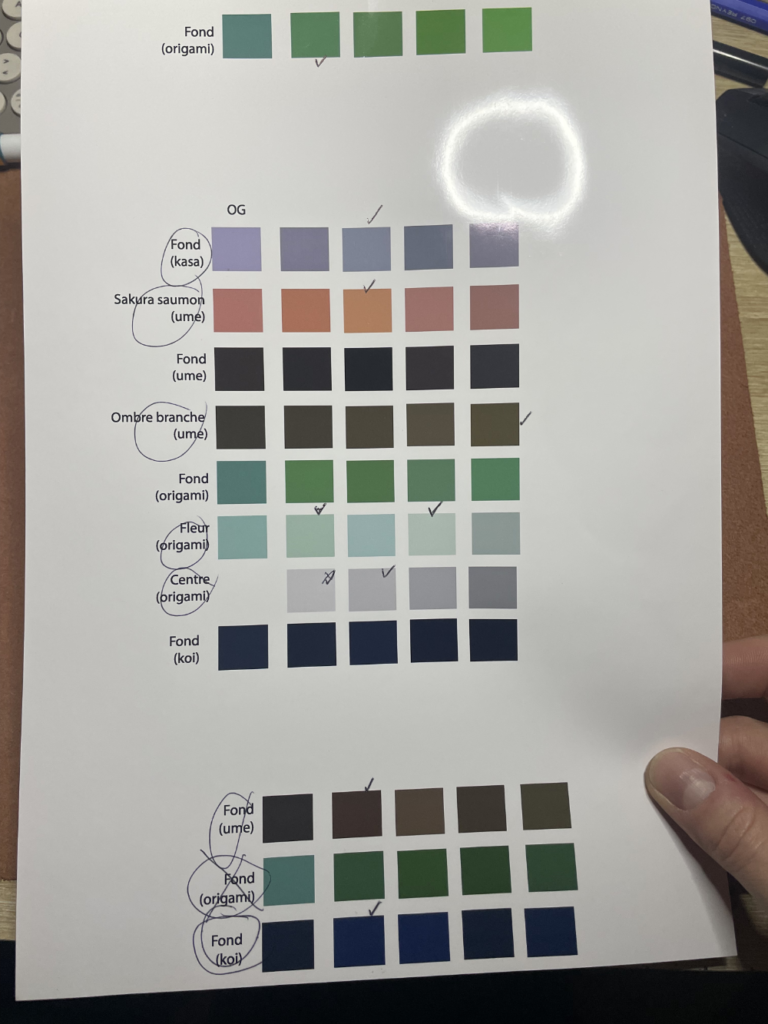
After dozen hours of works, here are the final inserts I created and used for the project :
The inserts was the part I spent the most time for the entire project.


You can use them freely by downloading from this source :
Credits is and will be always very appreciated.
https://drive.google.com/drive/folders/1mcRi3JHX2rEfbOVHnkthc4q-QJIHt3GP?usp=share_link
Making the mods
Preparing the inserts
Even though all the raw stuff is actually ready, there is still a lot to do.
An image printed on a glossy paper for an insert use got 2 issues :
- it is difficult to be rolled up
- any kind of scratch on it makes the ink disappeared so you will have to print it again
1- A thin regular insert can be rolled up very easily by hand, without any kind of tool. If you want to roll up a thicker paper, you will need several round supports from different widnes.
As instance, try to roll up the thick insert around an emboss body, then around a supertip body, then around a bic body. It helps the paper being gradually curved without damage it.
2- If you printed your design with an ink jet printer on a glossy paper, any scratch will screw it up. Then, cover your insert with a thin piece of white paper in order to avoid any damage.
OK we know how to roll up the insert, now let’s start the making.
Assembly
The caps can be made without specific attention. Just do as the regular Energel ST.
Sand down a bit the outer part of the both comssa backplugs so they can fit well into the Energel Body. I advise you to use the newest com.ssa backplug, the longest one. The longer the inner part of the backplug, the more the contact into the PC barrel.
If you are making a clear Energel ST with a PC barrel, but cut the barrel with a pipe cutter and try to add the glossy insert into it, the insert will be damaged and you will have to print it again.
What actually happens ?
If I draw a quick 3D model and use a cut out plan so you can see what happen inside, this is what roughly happen after you cut a piece of soft plastic with a pipe cutter. You don’t only cut the plastic. The plastic moves inward.
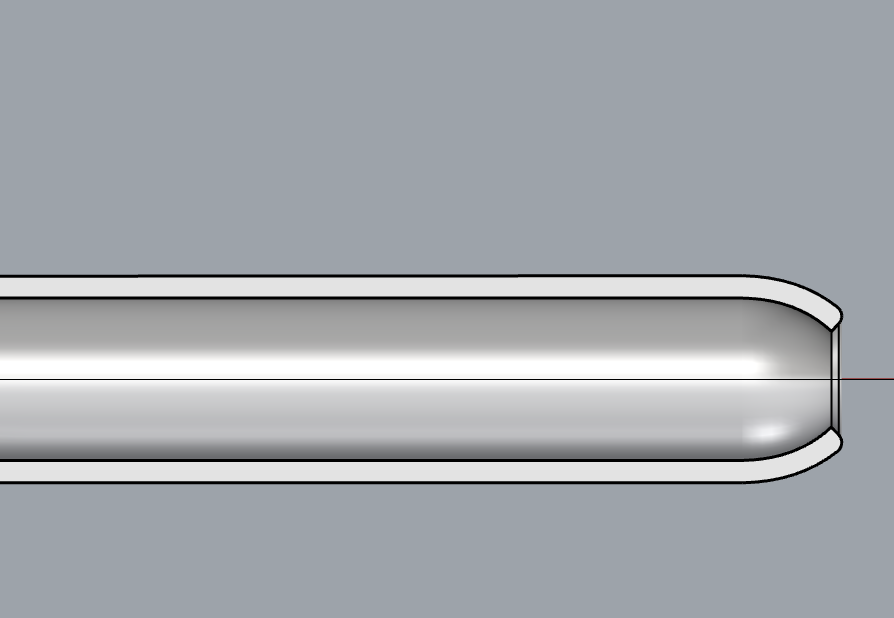
This lead to a kind of barrier for our insert. It is dangerous because it can cause scratches. What we need to do is to move backward the plastic. The safest way is to use a metal round shape object : drgrip metal rod is ok or the outside part of your scalpel (without the blade lol) and move it by doing circle inside of the body by pushing outward.
Once resolved, we can add the insert into the PC body.
The last but not least thing to do is the adjustment of the backplug into the insert. Adjustment is about adding a few tenths of a millimetre of widnes in order to get mechanical stress. Something we can’t get with a grip.
In this case, we need to add a few hundredths millimetres onto the com.ssa backplugs. Best is to use Teflon tape. Try and adjust either at the top, or at the bump of the backplug and see if it holds well while spinning the mod.
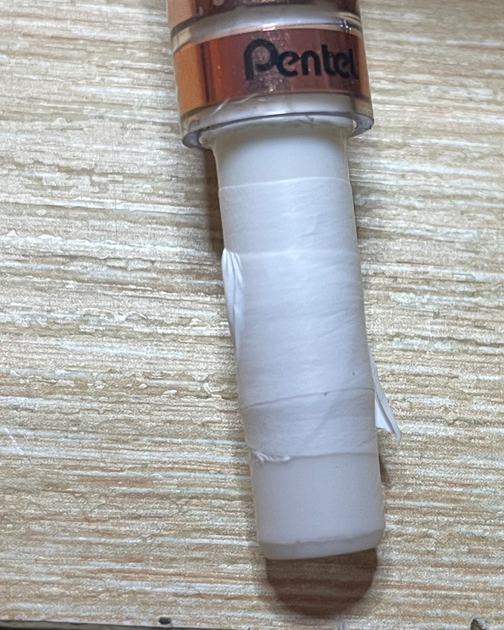
The trick to put it into the insert is to screw the backplug while pushing. Pushing straight might cause damage to the insert

After all, I am very proud of this project.
Even though I didn’t figure out how to create metallic printed color so the insert can match 100% with the Energel bodies (maybe I had to use darker color, I didn’t try this out), it is very exciting for me to create a new version from a pre existing model. The designing part of the inserts was stimulating for me. PC barrel has a pleasing texture and the insert makes an unifying effect for the entire penmod.
Thank you isuk for inventing this great mod and also thank you for reading until this sentence. This might be the longest article I have ever wrote about a penmodding project.
See you for a next article 👌
